Matillion is an ETL/ELT tool for ingesting and transforming Snowflake data. Matillion can get data from various Google services like Google Analytics. Connecting to Google Analytics from Matillion requires OAuth setup. Here is a step by step guide to setup OAuth for Google Analytics within Matillion.
Go to Matillion Project menu.
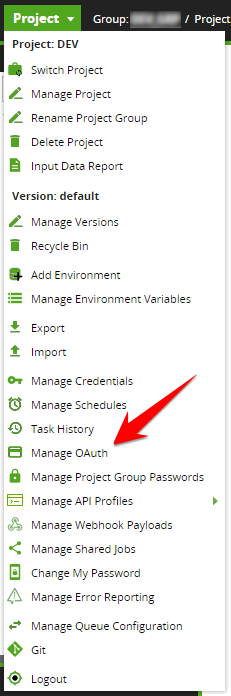
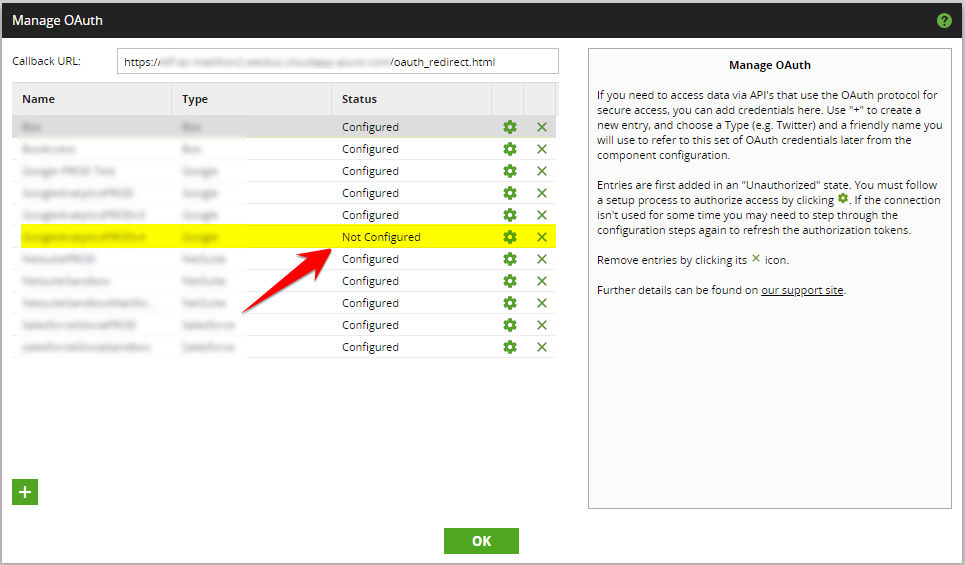
Click on “Manage OAuth” option. It will open up a pop up window with all existing OAuth.
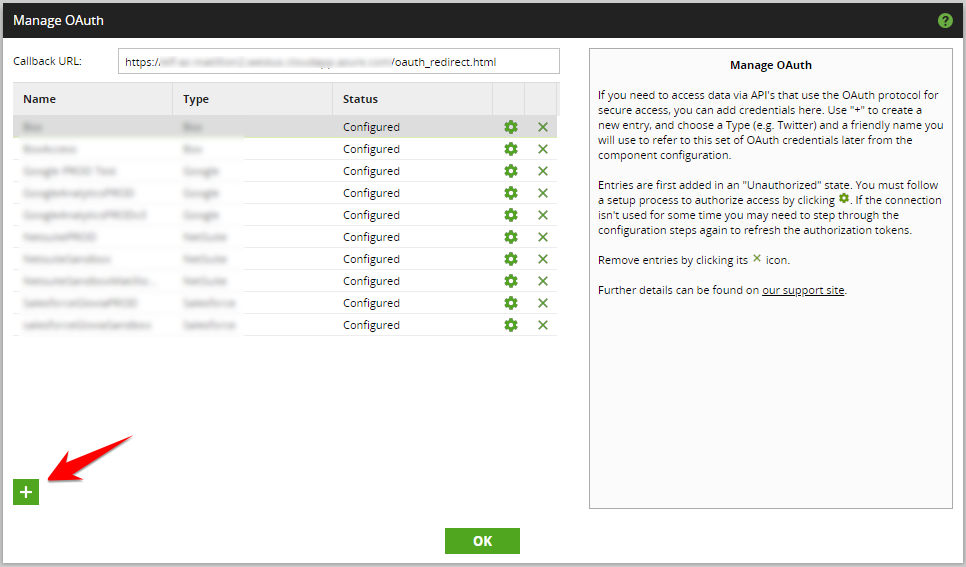
Note down “Callback URL”.
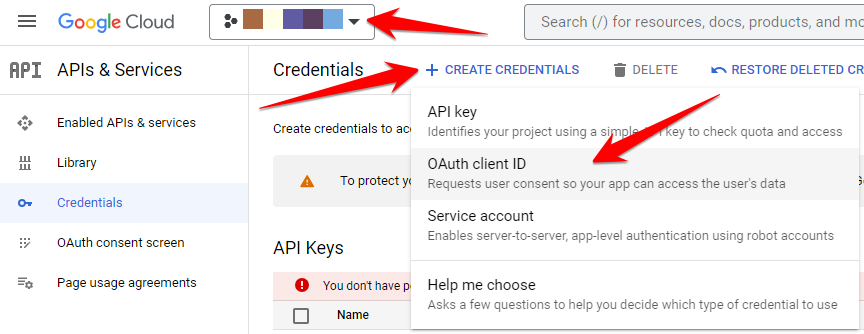
Now we want to setup OAuth on Google Cloud Platform. Login to GCP and go to API & Services > Credentials. Make sure to select correct project from the drop down menu.
Click on Create Credentials > OAuth Client ID
Click on “+” button to add new OAuth.
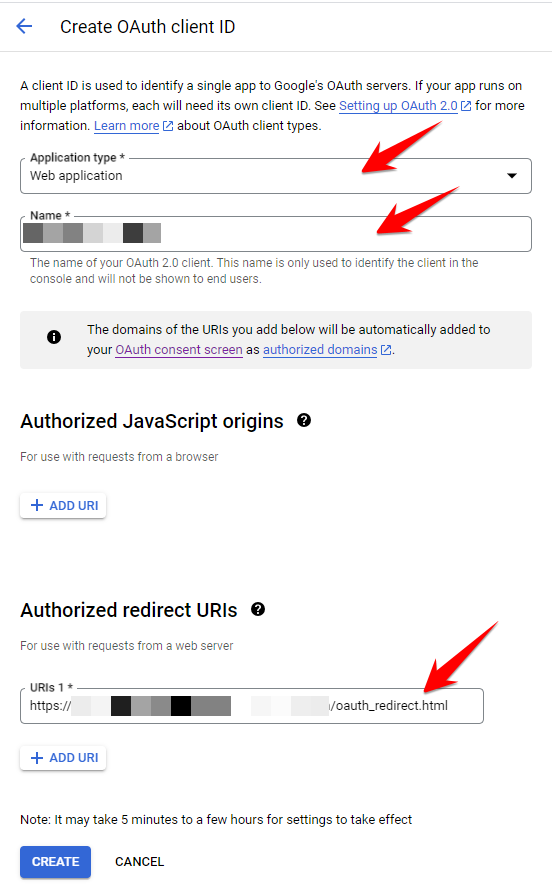
Select Application type as “Web application”.
Provide Name as per your need.
For “Authorized redirect URI”, copy the Matillion instance “Callback URL” that you got from previous step.
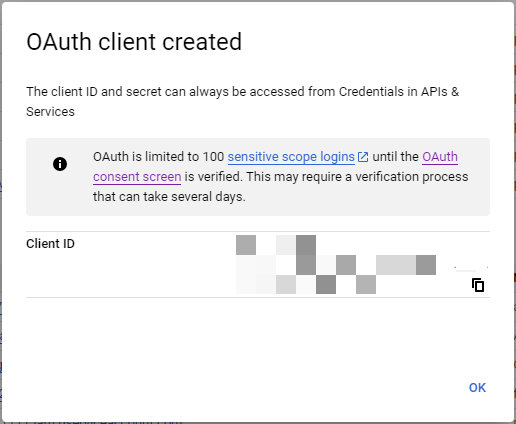
Click on “Create” button
Upon successful creation, you will see a confirmation screen.
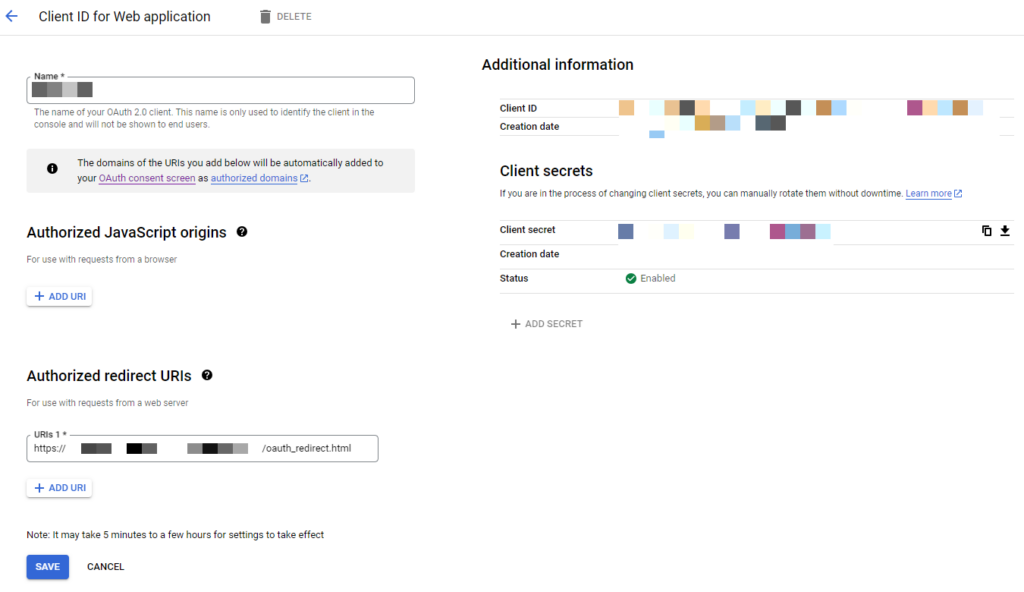
Now when you go to API & Services > Credentials within GCP, you will see your OAuth.

Click on pencil icon for given OAuth. It will show you a screen where you will get Client ID and Client Secret.
At this moment, we are ready to create a new OAuth within Matillion.
Go to Matillion Projects menu > Manage OAuth window and click on “+” icon to add new OAuth.
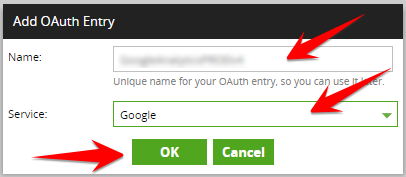
Give Name to as per your naming convention guideline.
Select “Google” for Service and click OK button
It will show you a newly added OAuth with Status as Note Configured. Click on Gear icon to start the OAuth configuration
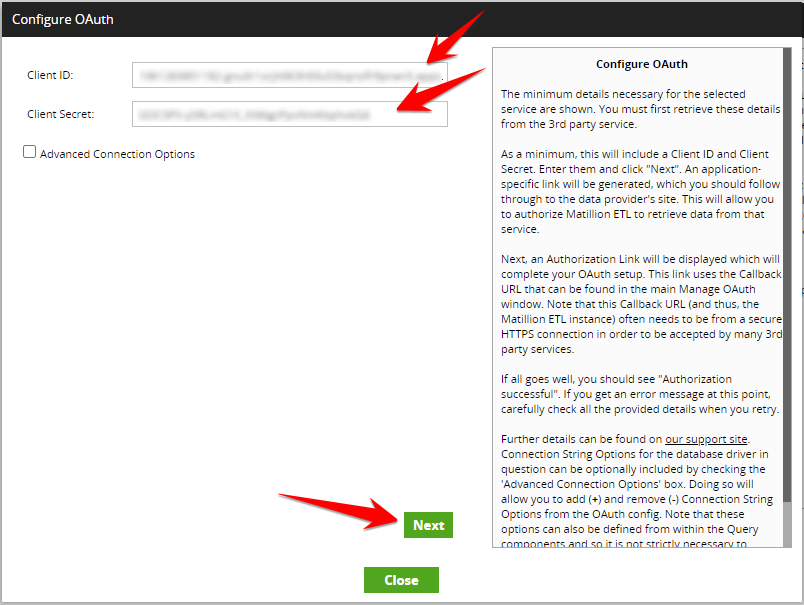
Add Client ID and Client Secret that we got from GCP and click on Next button.
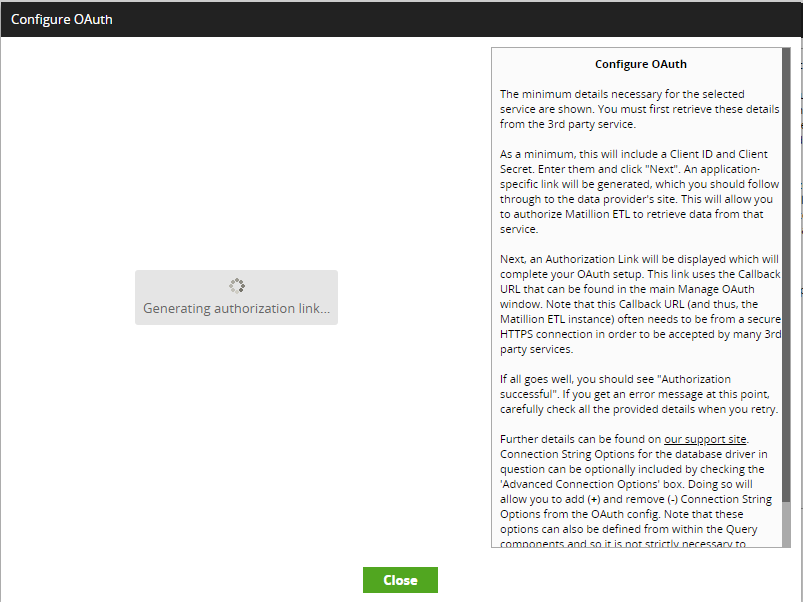
Matillion will try to generation authorization link
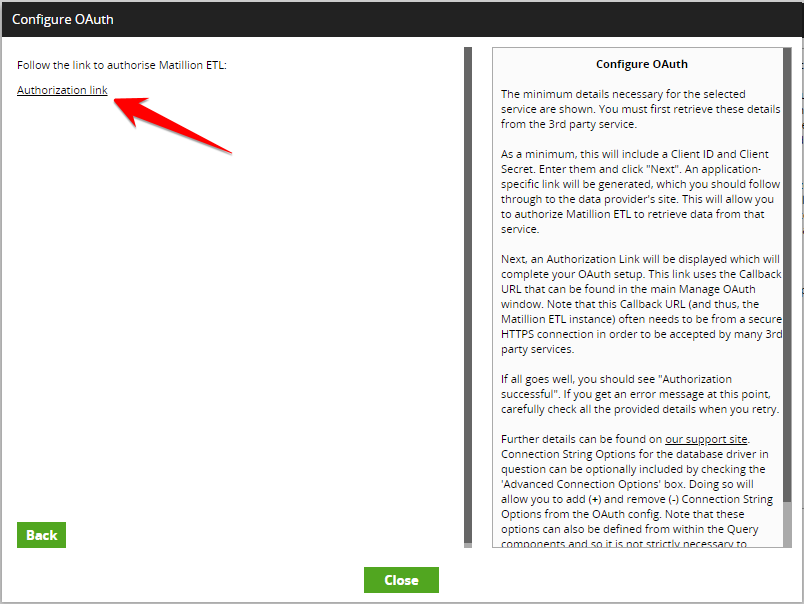
Once generated, click on Authorization link.
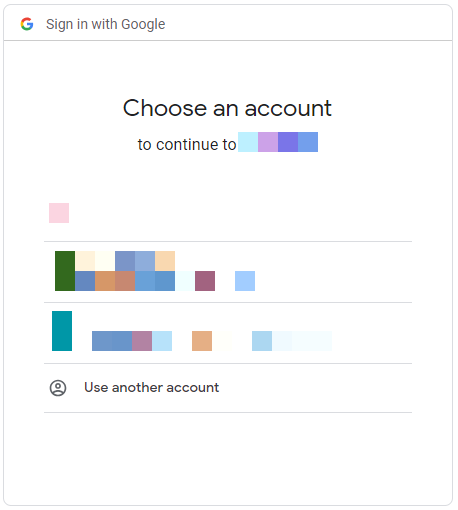
Matillion will show a screen where it is waiting for response from Google. It will open a new window to choose Google account.
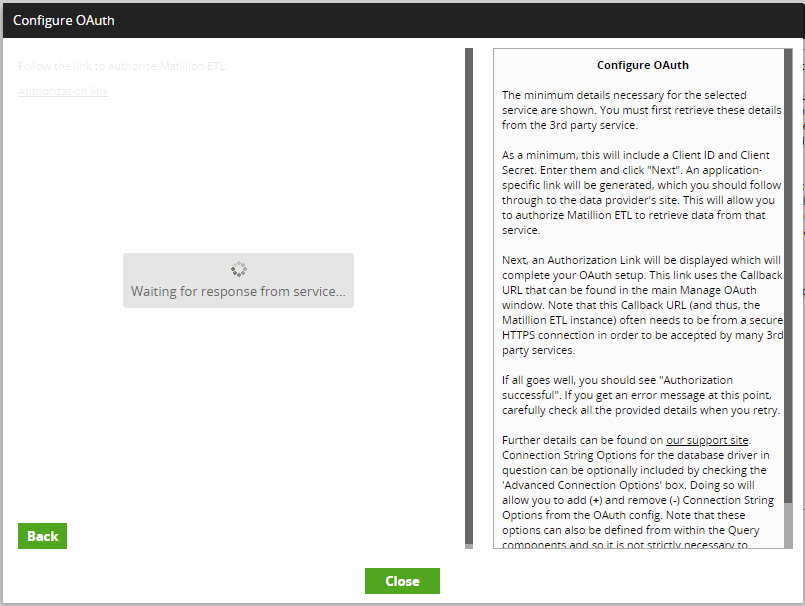
Select an account using which you want to setup OAuth.
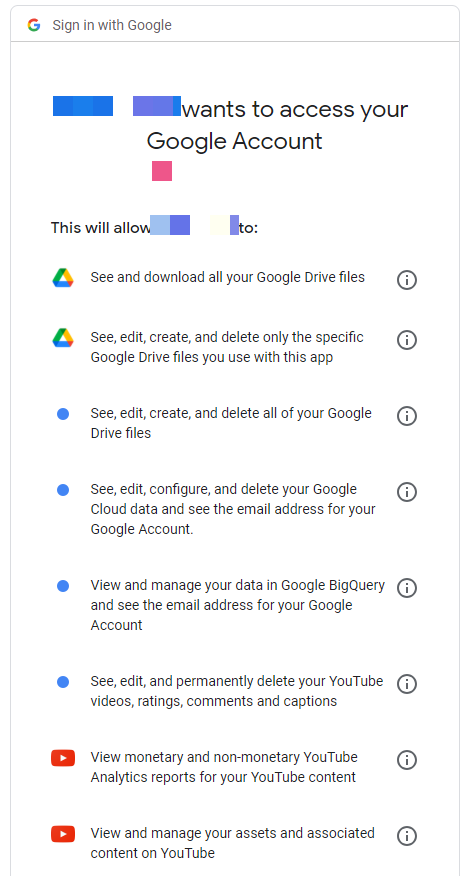
Google will ask you to confirm the granted access.
Upon successfully granting access, Matillion will show the authorization as successful.
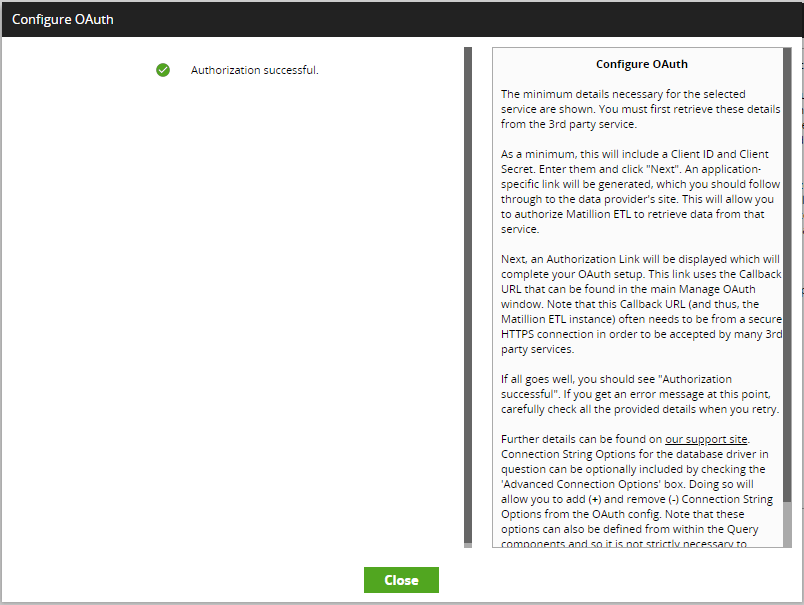
Now your Google OAuth is ready to be used by Google Analytics component.
You may want to make sure that the account using which you have setup OAuth must have read access to Google Analytics. Also the same account should have the Google Analytics API enabled within GCP. Google Analytics component will provide you detailed error to figure out what is needed.
Leave a Reply